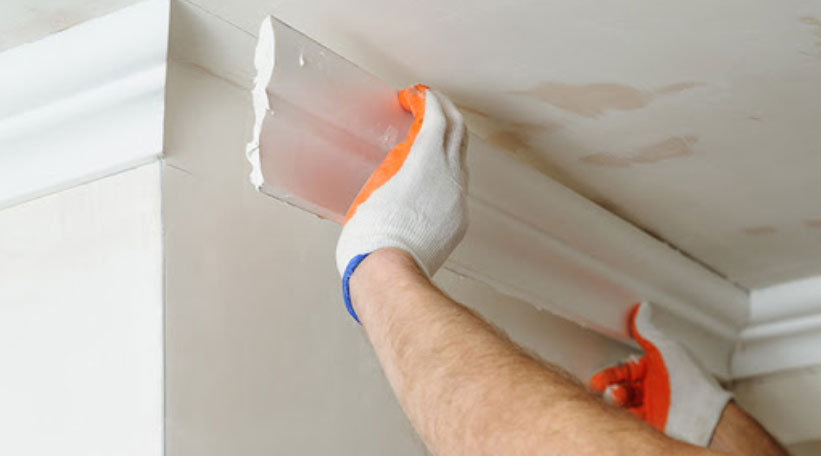
Use these pro step-by-step painting tips to ensure the perfect finishing touch for your painting project.
By Diane Franklin
Painting your trim and molding is the perfect finishing touch for your decorating project. It makes the entire room look fresher, cleaner and more complete.Here are a step-by-step guide and additional tips for how to do it well.
Supplies Needed:
- Primer
- Paint
- Paint brush (a 2 ½-inch sash brush is a good choice)
- Painter’s tape
- Sandpaper
- Spackling compound
- Putty knife
- Caulk/caulking gun
- Drop cloths
- Fill in holes in the surface with spackling compound and sand smooth. If there’s a gap between the molding and wall or cracks between the corner joints, fill it in with caulk. Use a general-purpose caulk or caulk especially made for trim.
- Lightly sand the molding to improve adhesion. Remove dust with a damp cloth or vacuum.
- Protect the floor with a canvas drop cloth, and mask your walls and floor around the edges of your trim or molding with painter’s tape to protect them from paint overage.
- Prime the patched areas. If your trim was previously painted with oil-based paint, or if you’re unsure, prime the entire surface to improve adhesion.
- Let the primer dry completely before proceeding with the paint. You can dip your paint brush directly into the paint can, but make sure you scrape off excess paint on the side of the paint can (or use a paint guard). Don’t overload your brush, as it may lead to drips or runs that you want to avoid.
- Wait until the paint is dry to the touch, and then carefully remove the painter’s tape.
Additional Tips for Painting Trim and Molding
Choose oil-based or latex: Almost all paints are moving toward latex because of less odor and easy cleanup. However, if you’re concerned about brush marks, an oil-based product will provide you less problem with that than an acrylic latex paint. If using an oil-based paint, make sure you ventilate the area well and use personal protection equipment, including respirator, goggles and gloves.
Choosing your sheen: Flat or matte paints are not appropriate for use on trim or molding. The most appropriate sheens are satin, semi-gloss and high-gloss. If you want to avoid visible brush marks in your trim or molding, use a higher gloss level.
When to paint: If you’re painting the entire room, the best method is to paint the walls first and the trim and molding last. You’re using a smaller brush to paint the trim, meaning you’ll have greater control and will be less likely to inadvertently go beyond the painter’s tape line and have excess paint go onto the walls.
When installing new trim: When installing new trim and molding—for instance, in a newly finished basement or when replacing narrow trim with a wider option—it’s a good idea to prime before installing. Some even recommend painting before installing. Those who prefer installing before painting note that they will need to caulk joints and put spackling compound over nail holes, so painting after installing provides a smoother finish. However, the trade-off is that you might inadvertently get paint on the walls. Painting the trim before installation allows you to do the job without necessarily being down on your hands and knees. After installation, you can touch up the nail hole areas and joints with paint, and because you’re probably using a higher-gloss finish, you likely won’t even notice the touch-up areas.

 Interior Paints
 Exterior Paints
 Primers
 Stains & Clears

 Paint Brushes
 Paint Roller
 Paint Trays & Liners