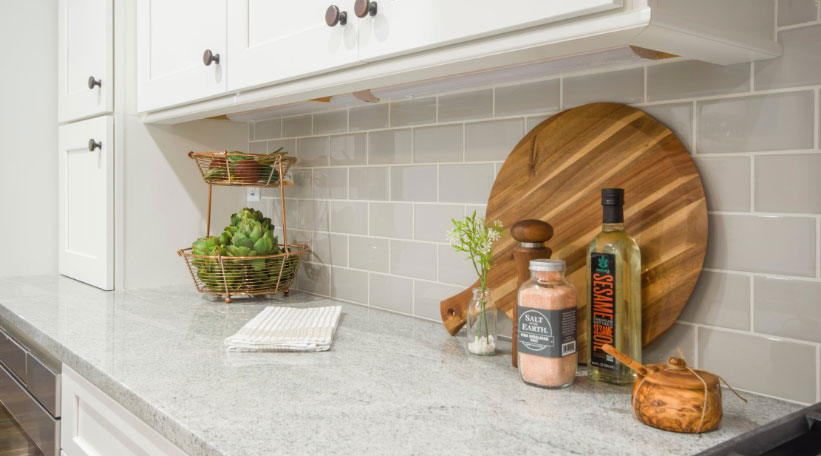
If you’re tired of your kitchen backsplash, you don’t have to tear out the tile. Paint it instead.
By Diane Franklin
If your backsplash is old and tired, your first thought may be that you have to tear it out and start all over again. The expense of the tile and the installation—as well as the hassle of the tear-out—may convince you to rethink that plan. Instead of replacing the backsplash, why not paint it instead?
You may pause at the idea of painting ceramic or stone tile. Will it look odd? In actuality, no—not if you do it right. Use the proper prep techniques and coatings, and it will look as good—or even better—as a brand new tiled backsplash application.
Supplies Needed
- Tile Cleaner
- Sanding Block
- Painters’ Tape
- Painter’sMasking Paper or Drop cloth
- Latex Primer and High Gloss Enamel
ORTwo-Part Epoxy Paint - 1-inch Paint Brush
- Mini-Roller
Step 1
Remove switch plates. Clean the backsplash thoroughly with tile cleaner to remove dirt, grease and grime.
Step 2
Sand the backsplash with the sanding block, scuffing it up to give the primer better adhesion.
Step 3
Mask around the tiles with painter’s tape. Cover the surrounding counter area with painter’s paint or a drop cloth.
Step 4
Prime the tile with a latex bonding primer. Use a small paint brush to ensure that you get into the grout lines, then go over the entire surface with a paint roller. Let dry. You may do another coat if you desire. Let the second coat dry thoroughly as well.
Step 5
Sand the dried surface gently with your sanding block once more, than paint the tiles with your high-gloss enamel. Again, do the grout lines first with the paint brush and then roll over the rest of the surface. Let the paint dry completely. Do a second coat.
Alternative to Steps 4 & 5
Instead of applying the primer and high-gloss paint, you may instead use a two-part epoxy paint. Some of these products are marketed as Tub & Tile Paint. Follow the directions on the package, and make sure you let the product dry thoroughly between coats.
Additional Backsplash Tips
Consider these additional ideas for creating a gorgeous backsplash.
- Rather than going with a simple white or black, try an arresting colorlike a sage green, a periwinkle blue or a cranberry red.
- Take the colors of your cabinets and countertops into account. If the colors are dark, go lighter with your backsplash to brighten up the kitchen. However, go darker with the backsplash if the other elements are white or a lighter hue.
- Instead of a seamless look with grout lines and tiles all painted the same color, use an artist’s brush to paint in the grout lines in a contrasting or complementary color.
- Paint individual tiles in different but coordinating colors to create a more dynamic look.
- Use a faux-finish technique on the backsplash—perhaps a simple color wash or an effect to emulate brick or stone.
- Use stencils (painted or peel-and-stick) to add visual interest to the tiles. Use the stencils sparingly as accents or to create a pattern. Use a chalkboard paint on the backsplash tiles. Add contrasting white grout lines for a more dramatic effect.

 Interior Paints
 Exterior Paints
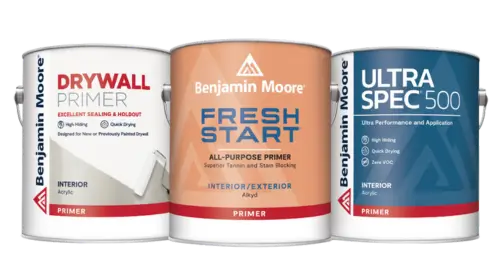 Primers
 Stains & Clears
 Paint Brushes
 Paint Roller
 Paint Trays & Liners