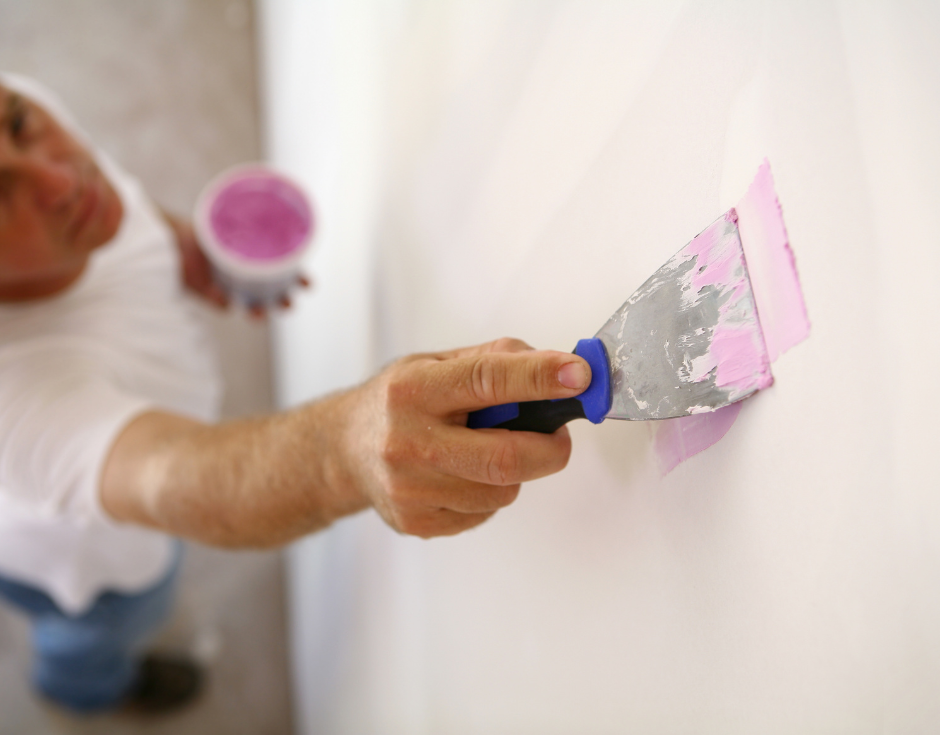
If you’re planning to refresh the look of your walls with a fresh coat of paint, it’s essential to ensure that the drywall is in good condition before proceeding. Small imperfections, such as holes, cracks, and tears, can be a distraction and compromise the overall appearance of your paint job. In this guide, we will take you through the step-by-step process of how to repair drywall before painting. You will learn how to create a smooth and flawless surface ready for painting. So, let’s roll up our sleeves and get started!
How to Repair Drywall Before Painting
Washing the Wall
Before diving into the repair process, cleaning the wall thoroughly is essential. Dust, dirt, and grease can hinder the proper adhesion of the repair materials and paint. Use a mild detergent mixed with water and a sponge to clean the surface gently. Once you’ve washed the wall, allow it to dry completely before moving on to the next step.
Finding the Problem Areas
To begin the repair process, identify the problem areas on your drywall. Common issues include holes, cracks, and tears.
Holes
Use a putty knife to apply a lightweight spackling compound for small nail holes or shallow dents. Press the compound into the hole and smooth it out, ensuring it’s level with the surrounding wall. You may need a self-adhesive patch or mesh tape for larger holes to provide a sturdy foundation for the spackling compound.
Cracks
Cracks in drywall can be a result of settling or temperature changes. To repair them, use a utility knife to widen the crack slightly, making it easier for the patching compound to adhere. Then, apply a thin layer of joint compound over the crack and smooth it out. You may need to repeat this process a few times, allowing each layer to dry before applying the next.
Tears
Tears in drywall are more challenging to repair but can still be fixed with patience. Cut away any loose or frayed edges around the tear, and then use joint compound and mesh tape to patch the area. Apply multiple thin layers of joint compound, feathering the edges until the tear is completely covered and blended into the surrounding wall.
Patching and Repairing the Wall
Now that you have identified and addressed the problem areas on your drywall, it’s time to focus on patching and repairing them. This step is crucial to create a seamless surface that will ensure your paint job looks flawless. Wallauer has patching kits and compounds available at all of it’s stores. Ask a friendly associate to assist you with choosing the correct compounds for your surface. Follow these detailed instructions to achieve a professional-looking finish:
Preparing the Patching Materials
Before you begin patching, gather all the necessary materials. For small nail holes or shallow dents, you’ll need a lightweight spackling compound. For larger holes or tears, you’ll need self-adhesive mesh tape and joint compound. Additionally, ensure you have a putty knife, a sanding block, and a clean cloth or sponge for wiping off excess compound.
Patching Small Holes and Shallow Dents
For small nail holes or shallow dents, follow these steps:
-
- Clean the area around the hole or dent with a damp cloth to remove any dust or debris.
- Use a putty knife to apply a small amount of spackling compound directly into the hole or dent.
- Smooth out the compound using the putty knife, ensuring it’s level with the surrounding wall surface.
- Wipe off any excess compound with a clean cloth or sponge, taking care not to disturb the patched area.
Repairing Larger Holes and Tears
For larger holes or tears, follow these steps:
-
- Clean the area around the damaged spot with a damp cloth to remove any dust or debris.
- If the hole is large, you may need to insert a self-adhesive mesh patch or tape. Cut the tape to fit the size of the hole, ensuring it covers the entire damaged area.
- Apply a thin layer of joint compound over the mesh tape or directly over the damaged area for smaller tears.
- Use a putty knife to spread the joint compound smoothly and evenly, feathering the edges to blend it with the surrounding wall.
- Allow the first layer of joint compound to dry according to the manufacturer’s instructions. This may take a few hours, but it’s essential to wait for it to dry completely before proceeding.
- If necessary, apply additional thin layers of joint compound, allowing each layer to dry before adding the next. Feather the edges to achieve a smooth transition from the repaired area to the wall.
Sanding the Repaired Areas
Once the patched areas are completely dry, use a sanding block with fine-grit sandpaper to smooth the surface. Gently sand the repaired spots until they are level with the surrounding wall. Be careful not to sand too vigorously, as it may damage the drywall surface. Not sure which type of sandpaper you need? Check out our sanding and abrasives.
Inspecting the Repairs
After sanding, inspect the patched areas to ensure they are smooth and even. If needed, apply a final thin layer of joint compound to any remaining uneven areas and sand again for a flawless finish.
By following these detailed steps, you can confidently patch and repair your drywall, creating a seamless canvas for your upcoming paint job. Take your time with each repair, and remember that patience and attention to detail will yield the best results. Once you’re satisfied with the repairs, you’re ready to move on to the next stage of your painting journey.
Priming the Area
Before painting, it’s crucial to prime the repaired areas to ensure even paint absorption and a uniform finish. A primer will also help seal the repaired spots, preventing them from showing through the paint. Apply a coat of primer to the patched areas, following the manufacturer’s instructions for drying time.
Do I Need a Primer After Drywall Repair?
Yes, using a primer after drywall repair is essential for a successful paint job. It creates a consistent surface, helps the paint adhere better, and improves the overall appearance of the finished paintwork.
What is the Best Primer for Drywall Repairs?
When selecting a primer, opt for one specifically designed for drywall repairs. Look for products labeled as “drywall primer” or “high-build primer.” These primers are formulated to fill minor imperfections and create a smooth surface for painting. Wallauer has a variety of primers that will work for your specific project. Benjamin Moore Impervex is a high-gloss paint that is designed for use on both interior and exterior surfaces. Benjamin Moore Ultra Spec 500 is a high-performance interior paint designed for commercial and institutional use.
Painting the Wall
Now that you’ve completed the drywall repairs and primed the patched areas, it’s time to unleash your creativity and bring your vision to life with a fresh coat of paint. The final step in achieving a polished and vibrant look for your walls is the painting process.
What is the Best Paint Finish to Hide Imperfections?
Choose a paint finish with a sheen to conceal minor imperfections and achieve a smooth look. Satin or eggshell finishes are excellent choices as they reflect less light, making flaws less noticeable. Matte finishes can also be used, but keep in mind that they may not be as washable as satin or eggshell finishes. For premier, latex paint try ben by Benjamin Moore. You can also try Regal from Benjamin Moore. Regal Paint is available in five finishes.
In pursuing a beautifully painted and flawlessly repaired wall, convenience and access to high-quality products are key. Fortunately, all the items mentioned in this guide, from spackling compounds to primers and paints with the ideal finish, can be easily acquired at Wallauer Paint & Design stores. With a wide range of top-notch products, expert advice, and a friendly team to assist you, your journey to achieving a stunning paint job and immaculate drywall becomes a breeze. So, head to your nearest Wallauer store, armed with the knowledge from this guide, and embark on your transformational home improvement project with confidence. Experience the joy of creating a space that reflects your style and personality, all while knowing that Wallauer has your back every step of the way. Happy painting and repairing!

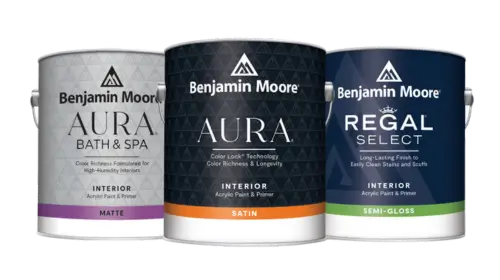 Interior Paints
 Exterior Paints
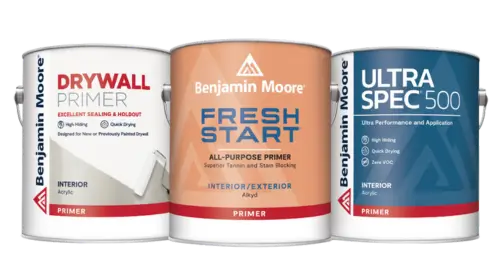 Primers
 Stains & Clears
 Paint Brushes